How to Add and Remove CPP RAVEN banners: Difference between revisions
From Guide to YKHC Medical Practices
No edit summary |
No edit summary |
||
| Line 1: | Line 1: | ||
==Adding And Removing CPP Banners== | ==Adding And Removing CPP Banners== | ||
'''Adding a CPP Banner''' | |||
'''PowerChart''' | '''PowerChart''' | ||
*Ad Hoc | *Ad Hoc | ||
| Line 42: | Line 45: | ||
Right-click over one of the old ones and choose Modify. | Right-click over one of the old ones and choose Modify. | ||
Remove the | Remove the check mark from the CPP box to remove the CPP registry banner. Click the green check mark in the upper left hand of box. Ignore the error message and refresh the chart. | ||
Revision as of 21:35, 16 May 2019
Adding And Removing CPP Banners
Adding a CPP Banner
PowerChart
- Ad Hoc
- Check box in front of Patient Registries
- Click on chart button on lower right corner of the page
- Check CPP box
- Click on green check mark on upper left to chart
- Refresh and check banner
First Net
- Ad Hoc
- All items
- Ambulatory Care
- Check box in front of Patient Registries
- Click on chart button on lower right corner of the page
- Check CPP
- Click green check mark in upper left corner
- Refresh and check banner
(Just a couple more steps than in Power Chart)
Removing a CPP Banner
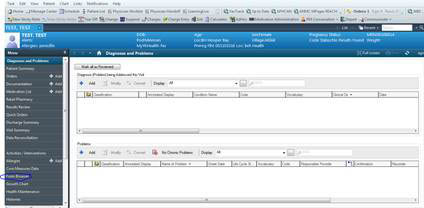
Go to Form Browser.
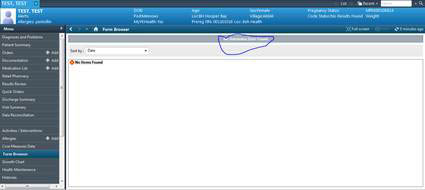
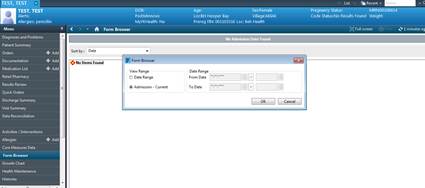
Change the date range to start before 2013 (When Raven/EMR was launched). (Right click over the gray box that usually includes the date/date range and choose Search Criteria.)
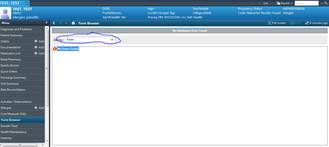
Choose Sort By→Forms
Go to the Patient Registries forms.
Right-click over one of the old ones and choose Modify. Remove the check mark from the CPP box to remove the CPP registry banner. Click the green check mark in the upper left hand of box. Ignore the error message and refresh the chart.


